


Activate Sendler
Complete the first seat, sign the contract and accept your workspace invitation.
Before you start
This introductory video presents Seatly. The dedicated Sendler setup walkthrough is being prepared; follow the steps below for this service.
The Sendler activation journey
Open the Sendler service
Pay for the first seat
Sign the agreement
Receive your invitation
Connect accounts in Sendler
I paid, but I don’t have access
Check the signature and activation status first. If the interface says invitation delivery is unconfirmed, ask support to verify it. Do not pay for another first seat or create another workspace to solve a pending activation.
The signature failed or needs to be restarted
Use the offered recovery action. A restarted signature can preserve the recorded payment; it is not a reason to pay twice. An interrupted signature does not automatically cancel the subscription. Ask the team if the status is unclear.
Does this activate Sales Navigator too?
No. A LinkedIn licence has its own activation request and confirmation. Sendler provides access to the campaign tool; LinkedIn licence access and connected sending seats are separate.
Where do I run campaigns?
Campaign operations take place in the third-party solution. Seatly distributes access and coordinates the commercial and activation follow-up. For billed account counts, see Sendler seats.
In the application
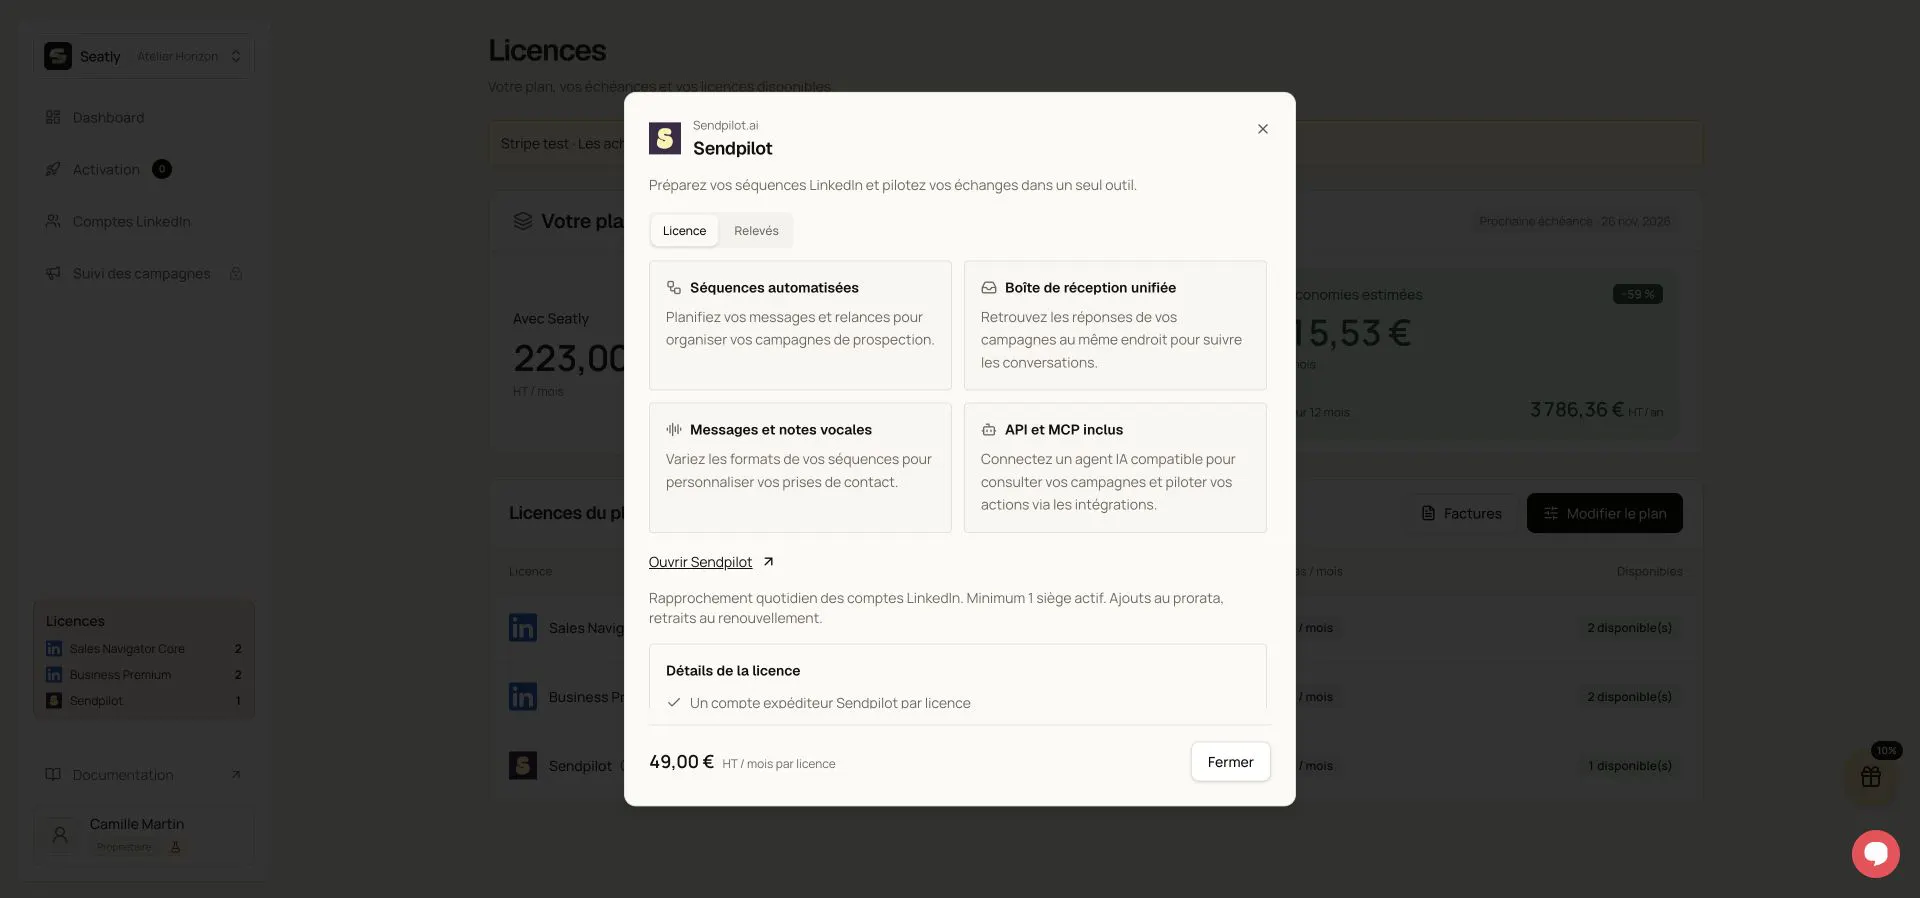
The Sendler product panel after access is available; some screens still use the name Sendpilot. Names, workspace and contact details have been replaced with fictional examples. This illustration is not a quote or a customer record. The interface shown is in French.
The captured interface mentions reductions at renewal. Seat-adjustment rules depend on your signed contract version; use the seat billing guide and your accepted tariff for the rules that apply to you.